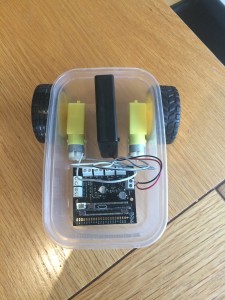
We are building lunch box buggies controlled by Microbits as part of a CAS project. So far, I’ve built two versions of the buggy (one in Lego and one using Kitronik kit) and quickly written some very simple code to make it move forward.
I wanted to have some basic sections of code that our children could tinker with and then put together in a sequence to navigate the buggy around a given course.
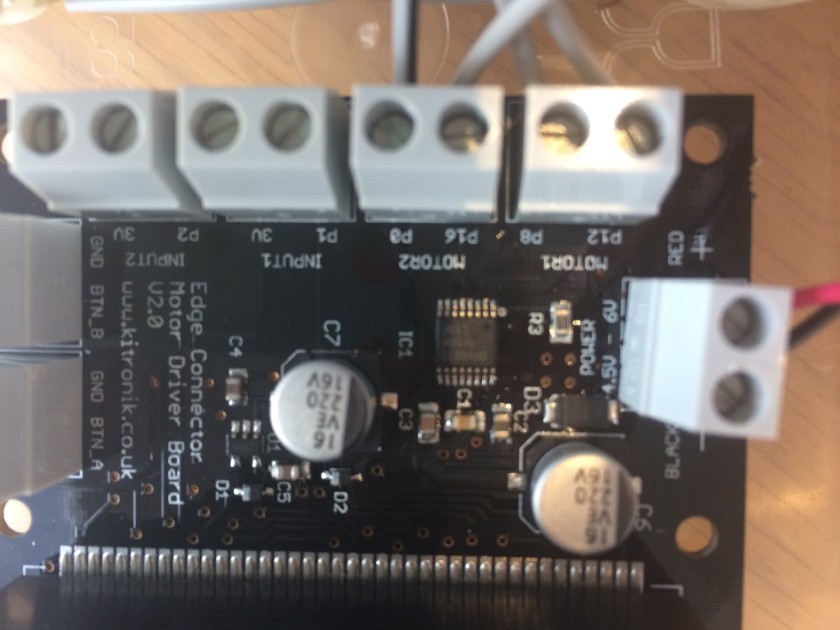
As I understand it, the motor board has four pins that between them can control 2 motors. There are two wires from one motor to the motor board that connect to two pins (i.e.: motor 1 uses PIN12 and PIN8 and motor 2 uses PIN16 and PIN0).


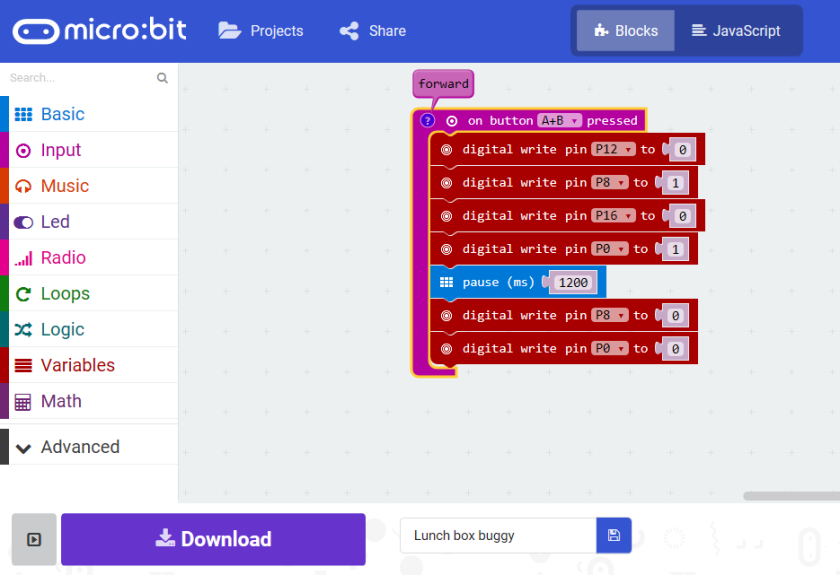
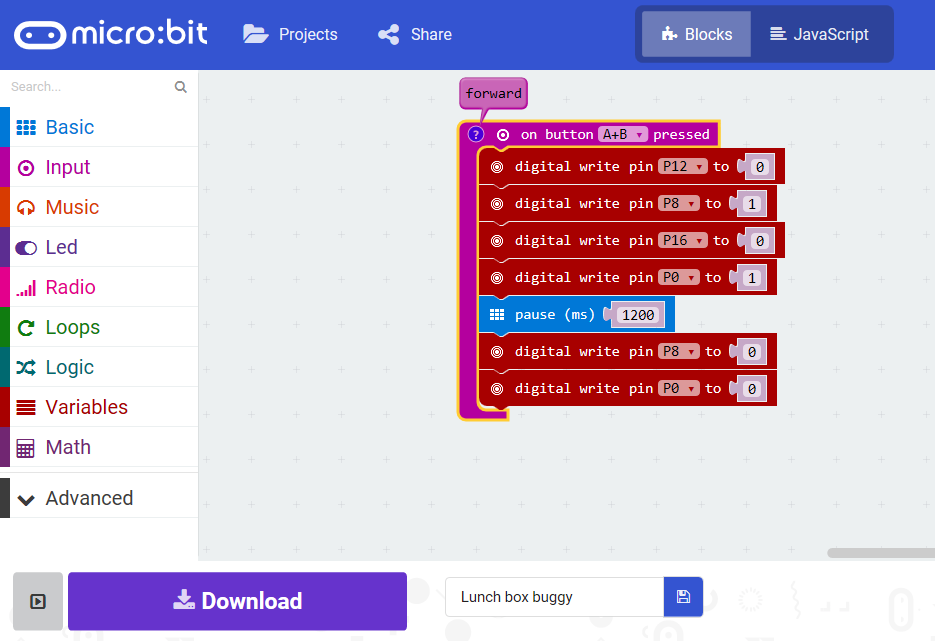
After some tinkering and with lots of help from my beloved Husband (who knows his way round Linux and other command line code) and the lovely Lorraine Underwood, we found we could add a comment to label this section of code as ‘forward’ (go to the JavaScript and add a line at the top with ‘// forward’, then back into blocks and the little blue question mark at the top left appears with a comment. We then worked out that by having one motor run forwards the other run backwards, we could turn the buggy in a circle. The tricky part was working how to make it stop, however, once we worked out that once a pin was turned on, it didn’t turn off until set back to 0, we realised that adding a pause then setting the pin back to 0 would run the motor for a set amount of time. After that it was a case of trying different amounts of time to get a quarter turn. Eventually we discovered 1200 ms was about the right amount of time!
I’ve tried the buggy on a few different surfaces at home as the wheels seem to slip sometimes, and the shape of the lunchbox, with slightly sloping sides causes the wheels to be a slight angle. All of this can make the turns slightly more or less than the 90 degree turn I want, but this is something we can debug with code and with the mechanical aspects with the children once we have the final buggies made.
The code I’ve written so far is published online in the PXT editor. Button A turns right (clockwise), Button B turns left (anticlockwise) and A+B makes the buggy go forward.
