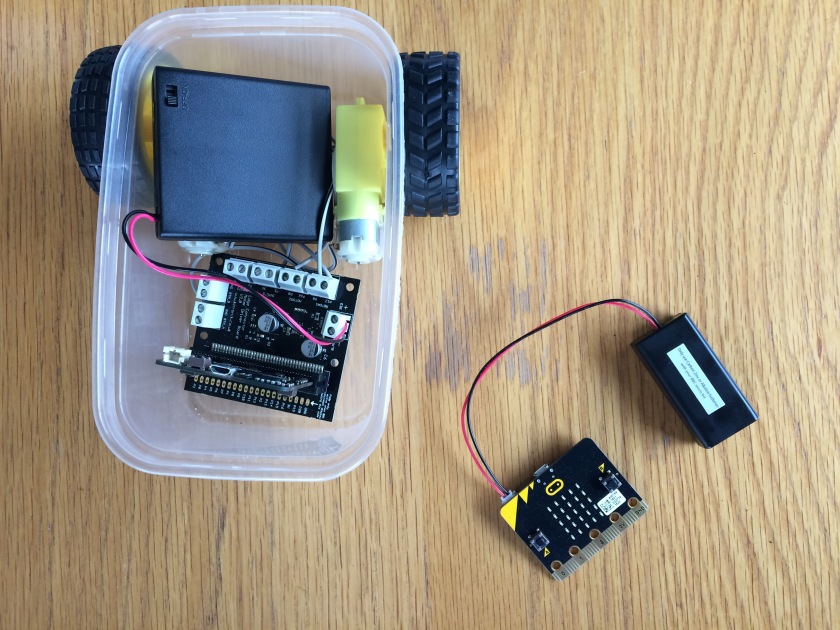
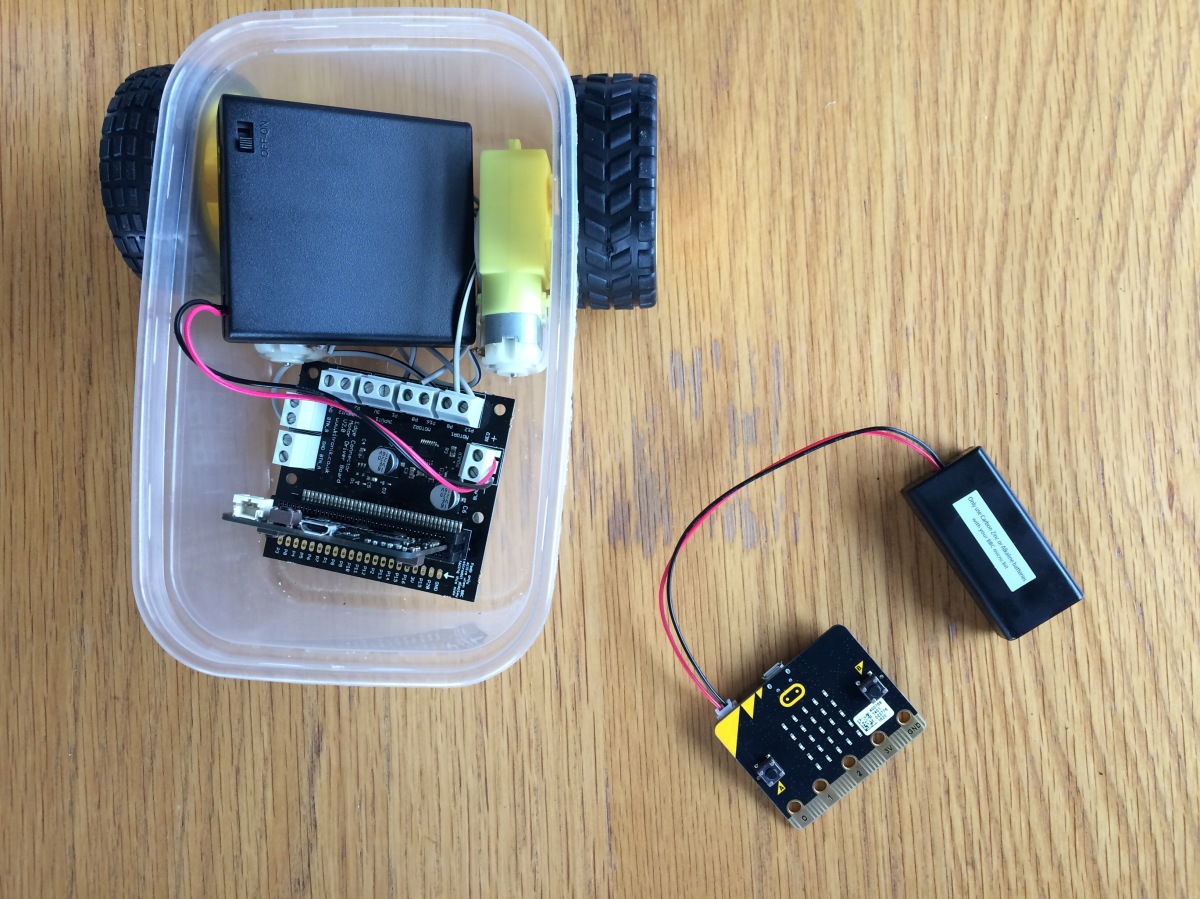
On Friday, a very large box of Microbits arrived from Kitronik (via BCS who are distributing the Microbits for our CAS project). So I finally had a second Microbit to try out.
First boot
The first Microbit I had was a gift from Yvonne Walker at CAS, so I hadn’t one fresh out of the packet before. I was delighted to discover that once the supplied power pack was attached, the Microbit booted and ran an introductory code. The microbit ‘introduces’ itself and walks you through using the buttons and accelerometer (see Intro to the Microbit from Tech will save us). I will be able to use this for our first lesson using the Microbit, once we have also looked at the safety leaflet and thought about how to handle them safely. (You can re-instate the start-up code from the copy on Tech will save us).
Programming the remote control

Tech will save us has a nice tutorial and code to make a remote control for their buggy. I adapted this code as I had used a different command to control the motors. The remote control Microbit now uses the accelerometer to move the buggy forwards and backwards, pressing button A makes the buggy turn clockwise and button B makes it turn anticlockwise, pressing A+B stops the buggy. The code could do with some refinements as at the moment, it is a two man job to turn the buggy off! Holding down A+B continuously stops the buggy still, whilst someone else switches the power pack off. I’ve also lost the granularity of control I had before, so that going forwards and back for a set time, and turning clockwise and anticlockwise for a set time to effectively turn 90 degrees has been lost within the forever loop. So, any suggestions on how I can get that control back and/or how I can make A+B stop the buggy by one press would be really helpful! The code I have so far is shared below (for the PXT block editor).
